The things that you will need in order to follow along will be...
1. Flash drive (for Clonezilla live)
2. Clonezilla Live
3. Rufus.exe (to make the live USB)
4. External storage with equal or more space than the hard drive you are trying to clone.
Here are the links for Clonezilla and Rufus for you to use with this tutorial.
Rufus Download
Clonezilla
1. Flash drive (for Clonezilla live)
2. Clonezilla Live
3. Rufus.exe (to make the live USB)
4. External storage with equal or more space than the hard drive you are trying to clone.
Here are the links for Clonezilla and Rufus for you to use with this tutorial.
Rufus Download
Clonezilla
In this tutorial, I will be guiding you through the steps on how to setup and use Clonezilla live from a USB flash drive.
Step 1. Download Clonezilla with the provided link in the "What You'll Need" tab.
Step 1. Download Clonezilla with the provided link in the "What You'll Need" tab.
Step 2. Use Rufus to make a live USB using the Clonezilla ISO.
Step 3. Restart you computer and boot to USB by either pressing F10 or F12.
Step 4. You should now be at the Clonezilla splash page.
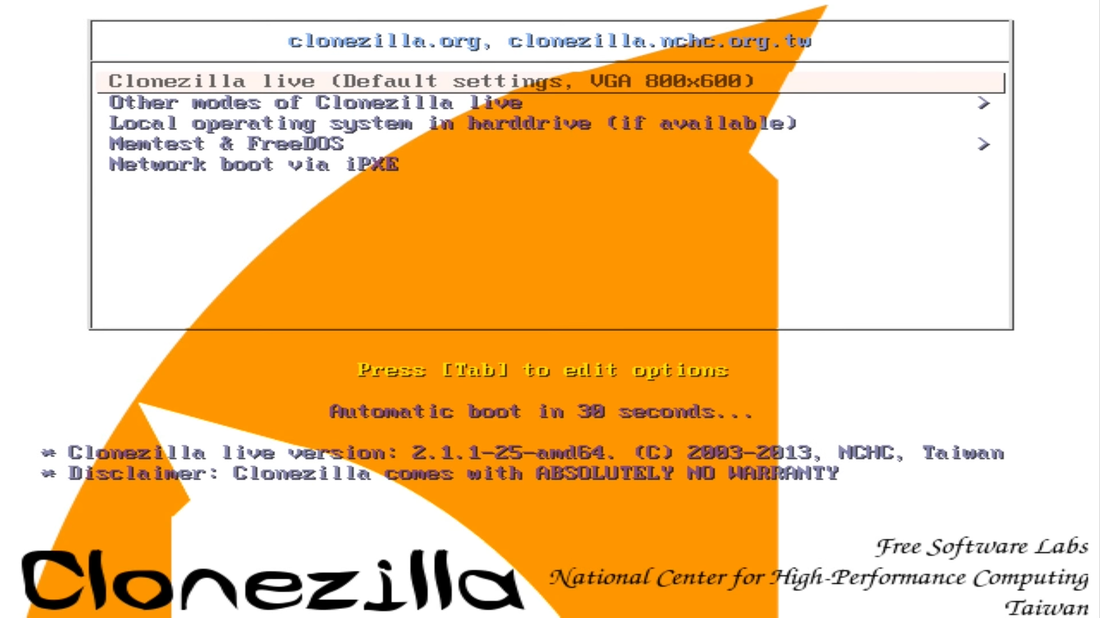
Step 5. Choose the first option "Clonezilla live (Default settings, VGA 800x600)
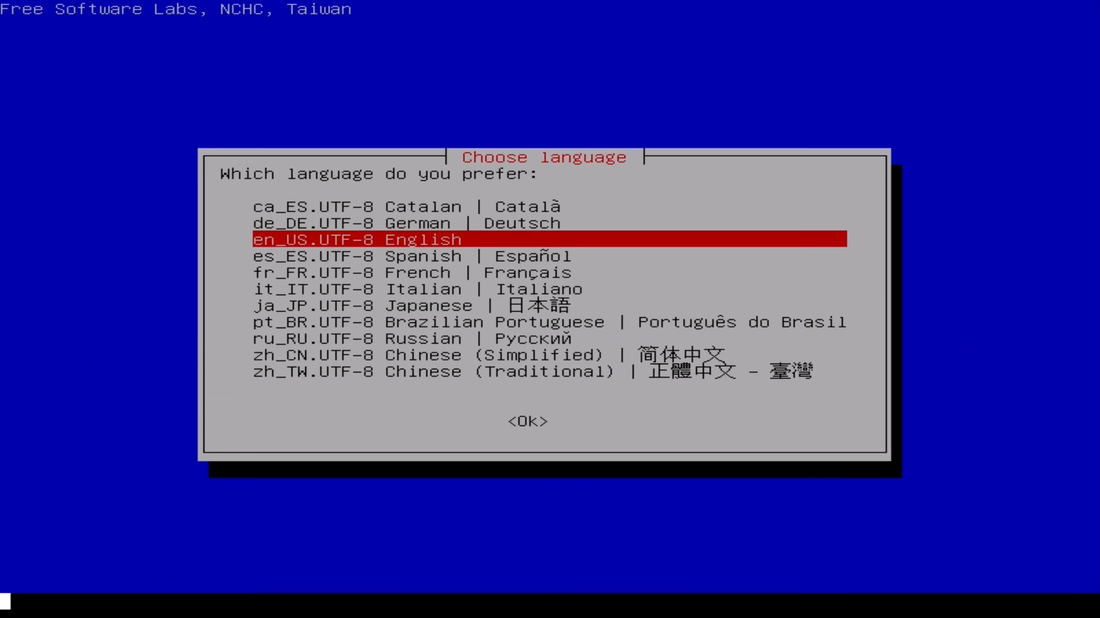
Step 6. When the "Choose Language" screen comes up just hit enter or select you language.
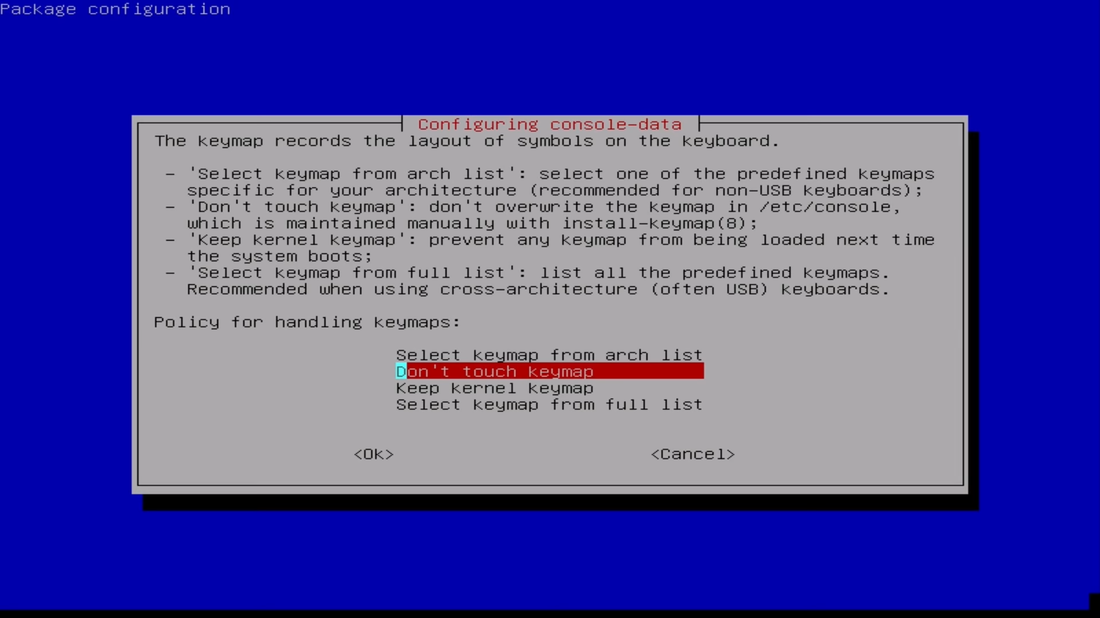
Step 7. Hit enter when the "Configuring Console-Data" screen comes up.
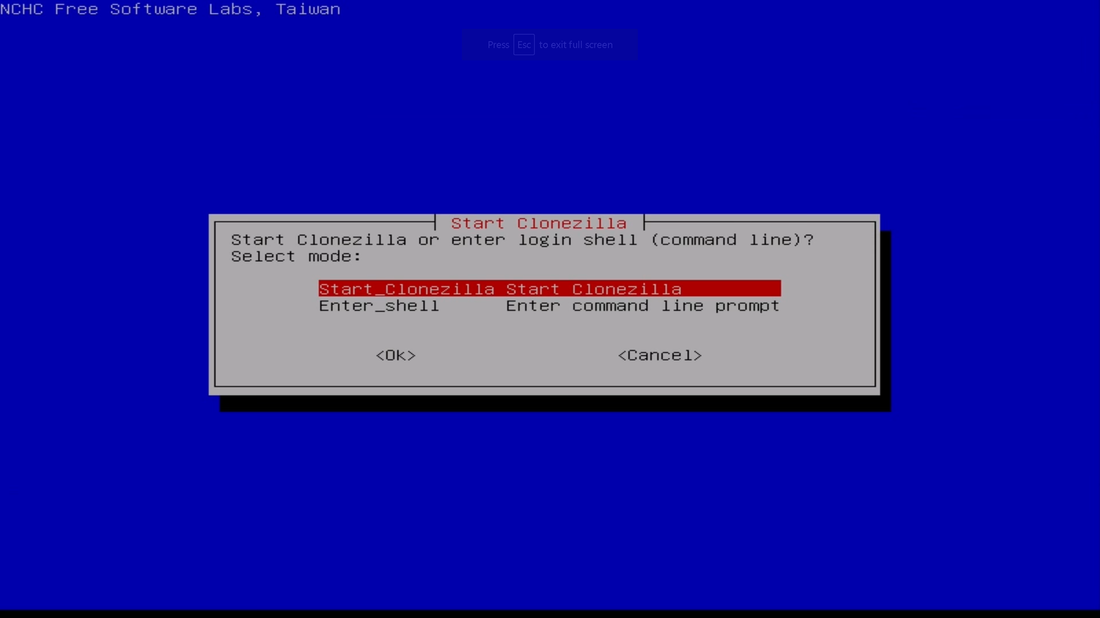
Step 8. Hit enter on the "Start Clonezilla" screen.
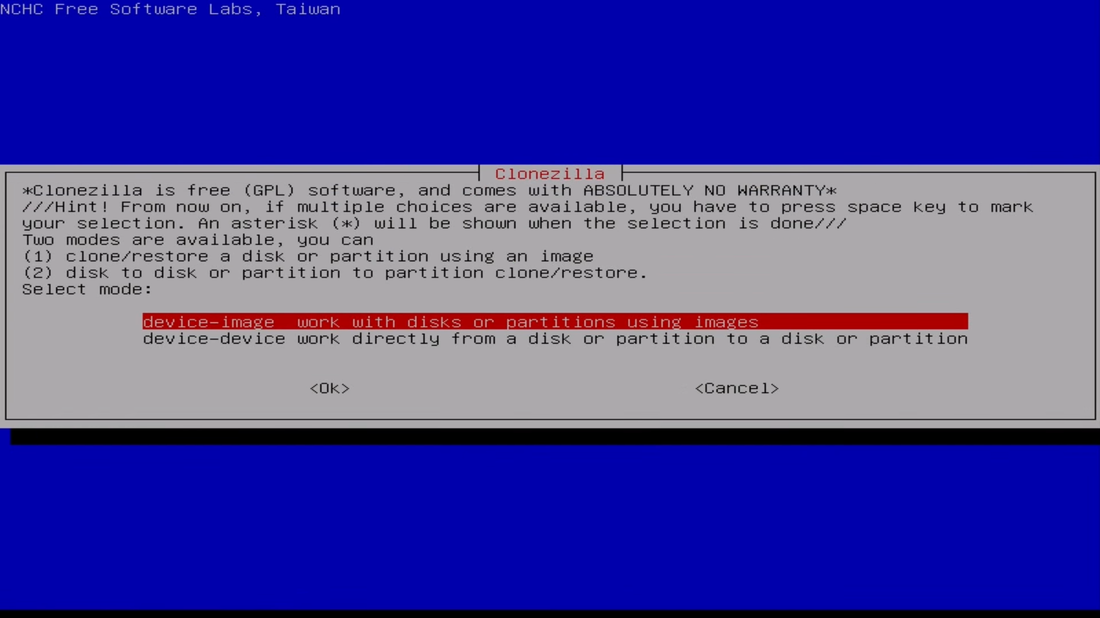
Step 9. Choose "device-image work with disks or partitions using images"
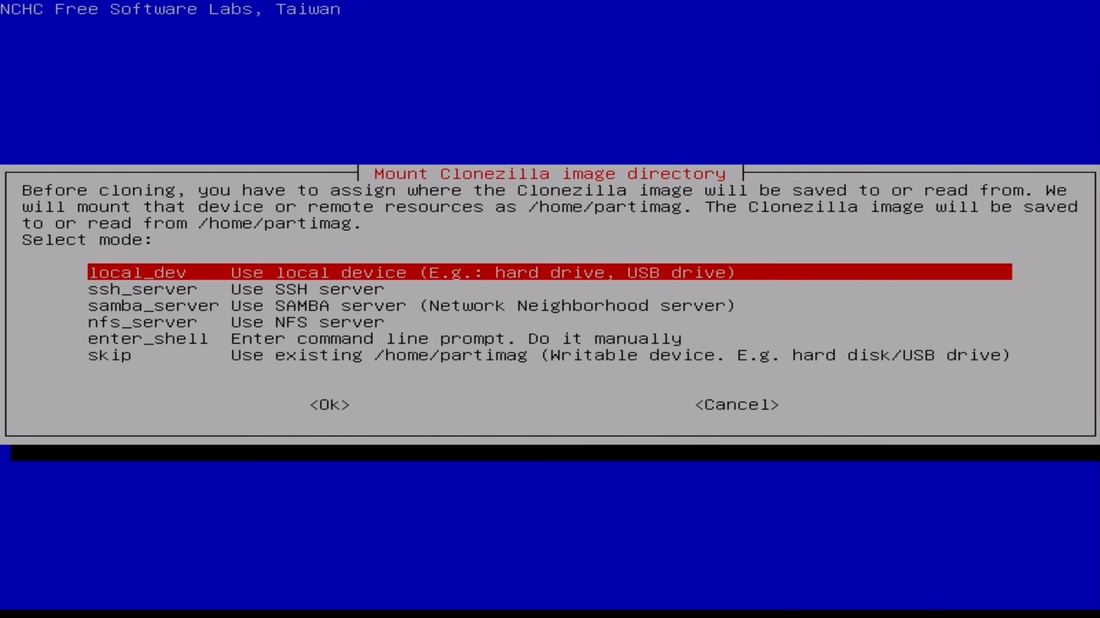
Step 10. Choose the first option in the "Mount Clonezilla Image Directory" and hit enter.
Step 11. Now insert the external hard drive you will be using to save your backup on and hit enter.
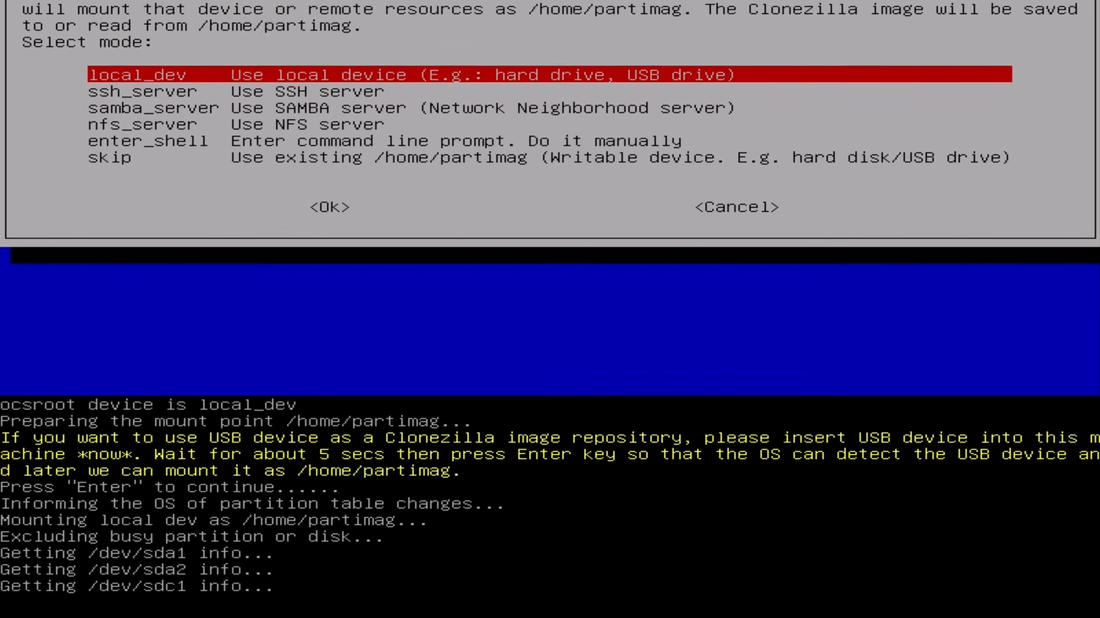
Step 12. Once you see your drive that you plugged in press Ctrl-C to exit window.
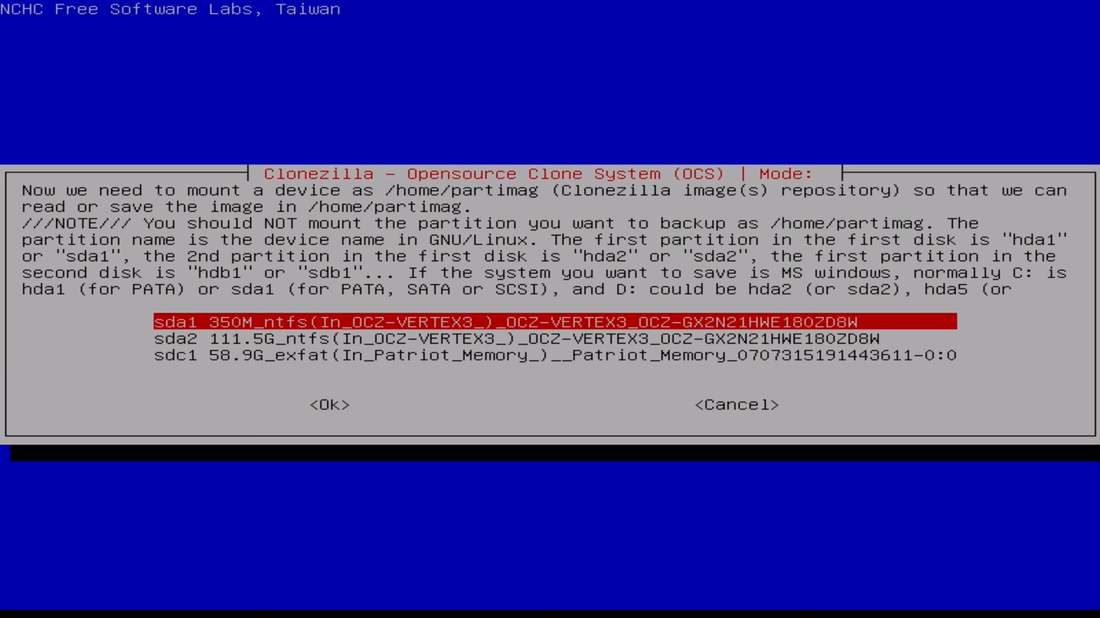
Step 13. Now you will select that drive in the "Clonezilla - Opensource Clone System". (Don't select the drive that you are cloning)
Step 14. In the "Directory Browser for Clonezilla image repository" you will select "Done" and hit enter then hit enter again.
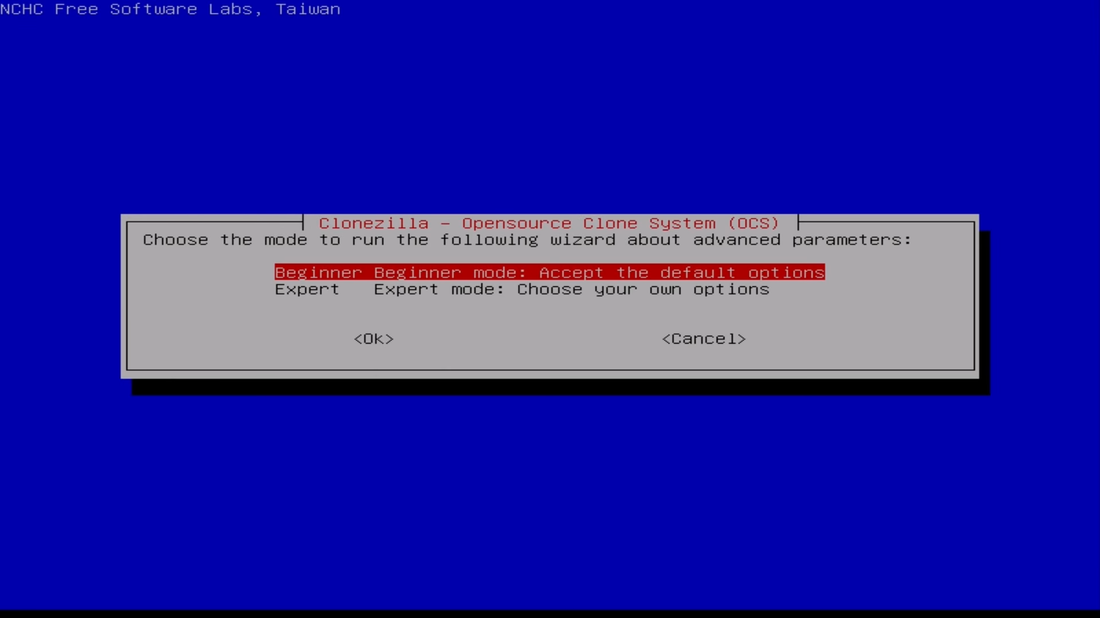
Step 15. Now select the beginner mode and hit enter.
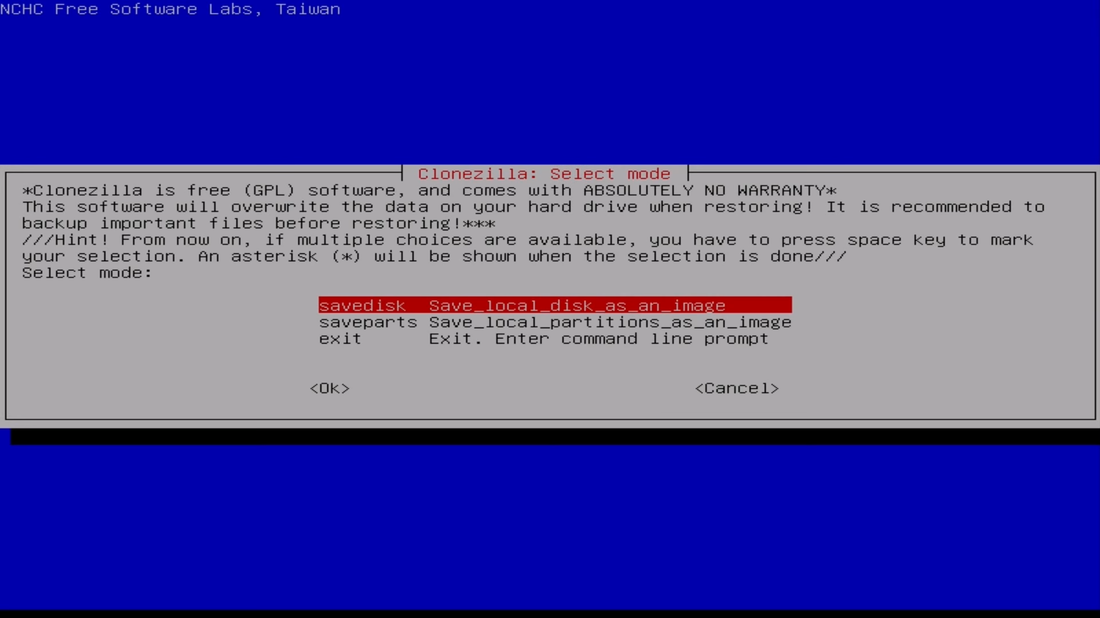
Step 16. Choose "savedisk Save_local_disk_as_an_image" and hit enter.
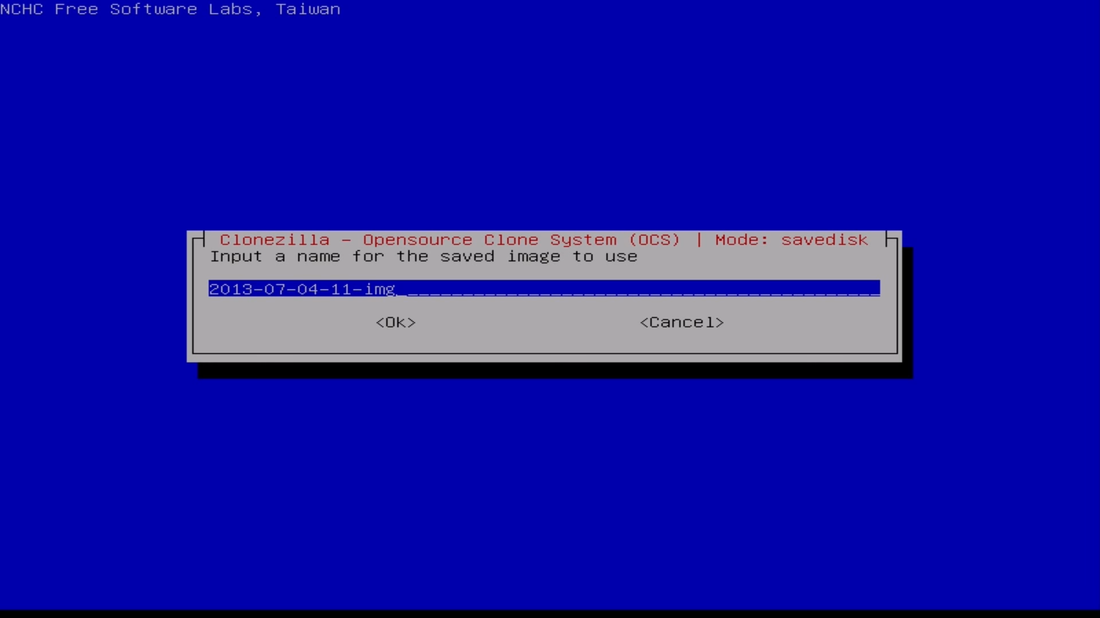
Step 17. Name the image file that you will be saving to your external hard drive or just hit "ok" for the default name.
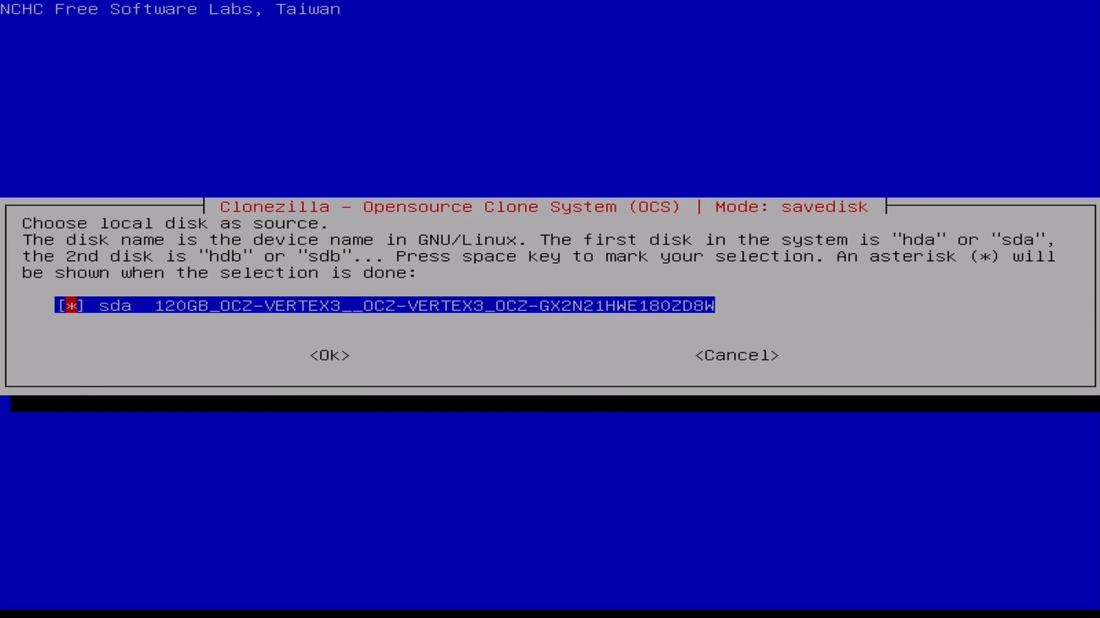
Step 18. Now select the hard drive that you wish to clone and hit enter.
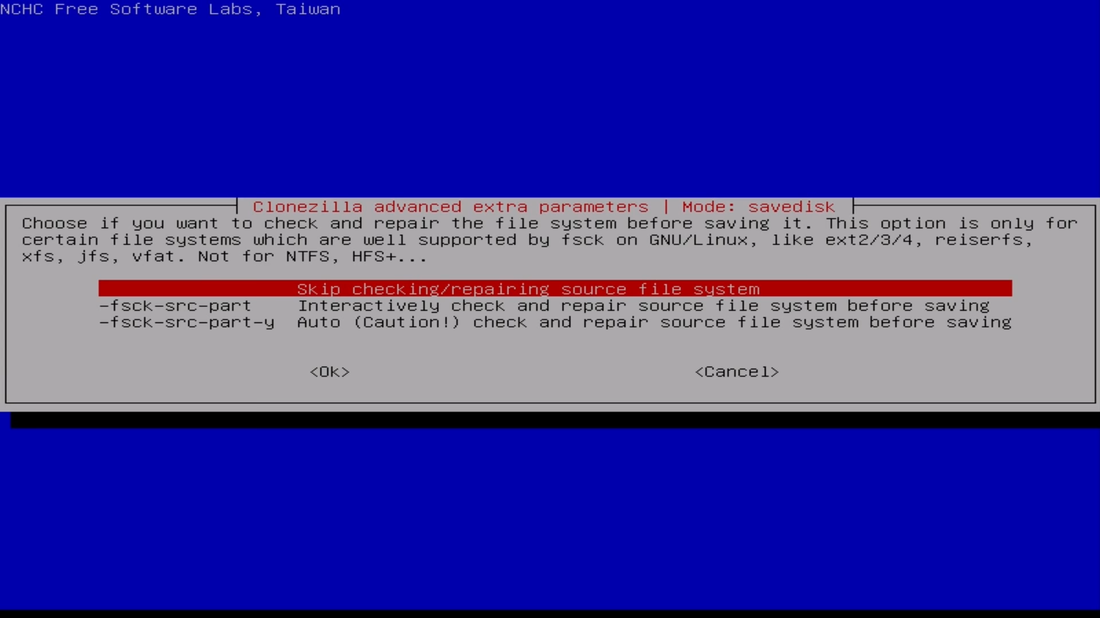
Step 19. In the "Clonezilla advanced extra parameters | Mode: savedisk" hit enter again.
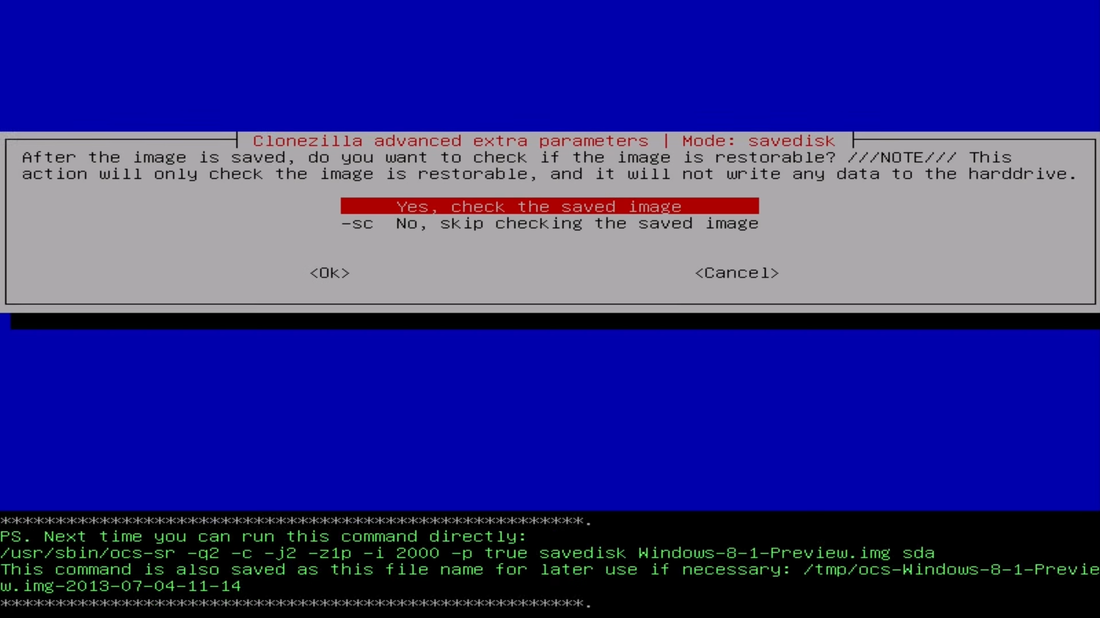
Step 20. Select "Yes, check the saved image" and hit enter.
Step 21. Now select whether or not you want the image encrypted and hit enter.
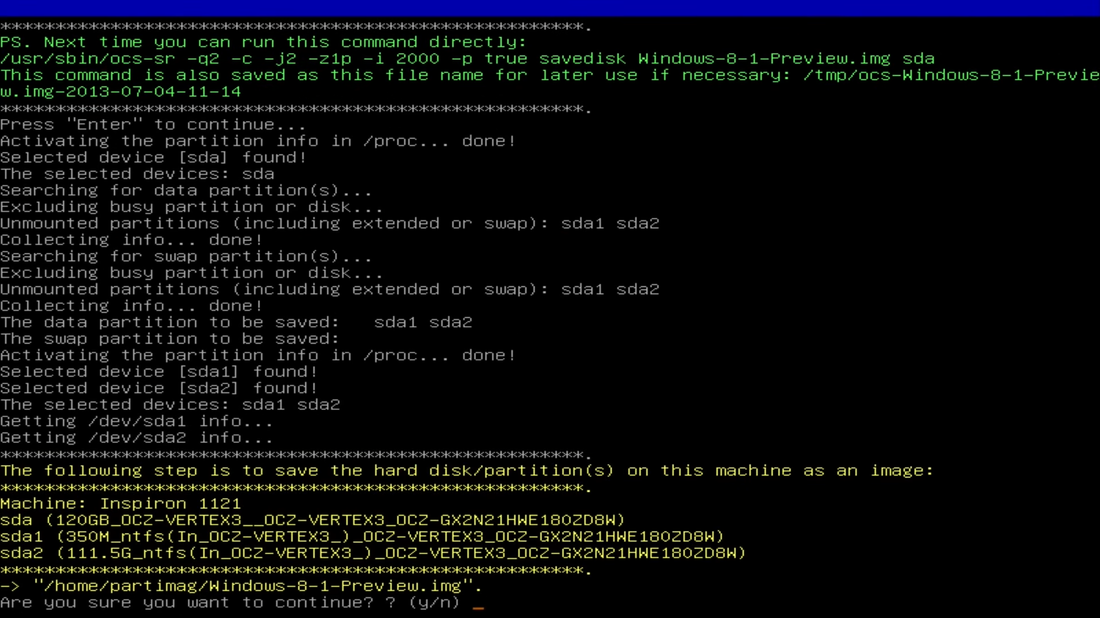
Step 22. On the "Mode: savedisk" just hit enter again and if it asks if you wish to continue hit the "y" key then hit enter.
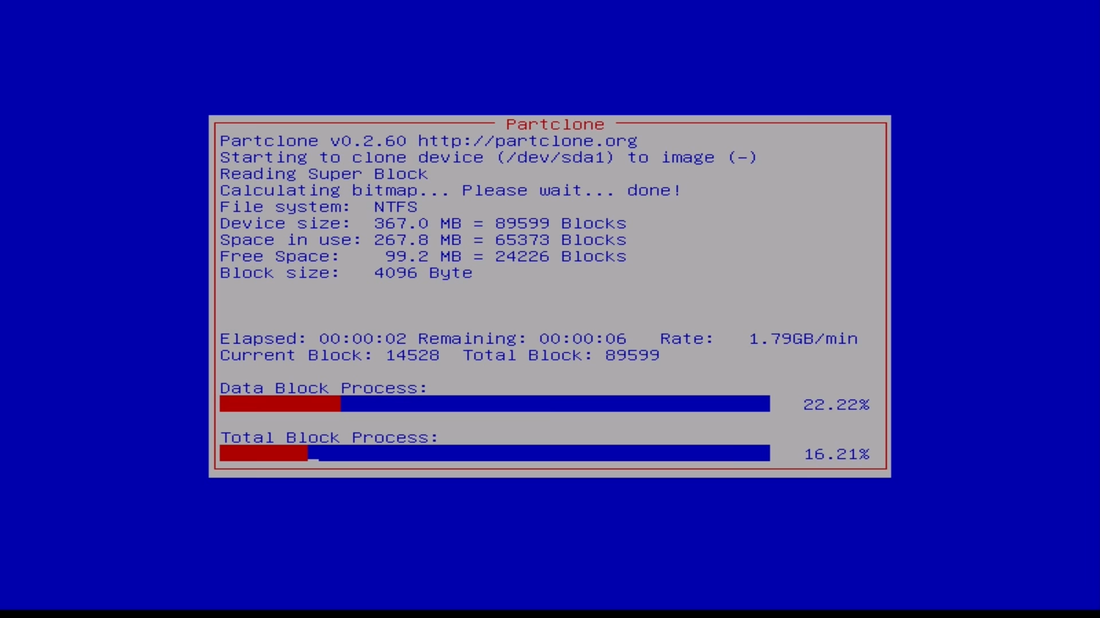
Now you are basically done, but you will have to wait until the cloning process is finished. If everything was done correctly you should now see the loading screen as shown below.